Final Draft
First draft (unfinished)
Shooting
|
In our first day of filming, we spent most of our time discussing, finalizing and practicing the shots that we would have to film that day. We experimented with lighting and different props to be used as a weapon for the antangonist. After that I sorted out the costume and the decided props for the my actor to use. We started off filming the indoor scenes first but then quickly moved on filming the outdoor scenes. We managed to film 80% of the out door scenes with no problem which included the playing tennis/cricket, ding dong ditching, gas station and spray paint. Whereas for the indoors, we only managed to film 2 scenes which were a chase scene and an POV of the protagonist being attacked by the antagonist up close.
|
|
|
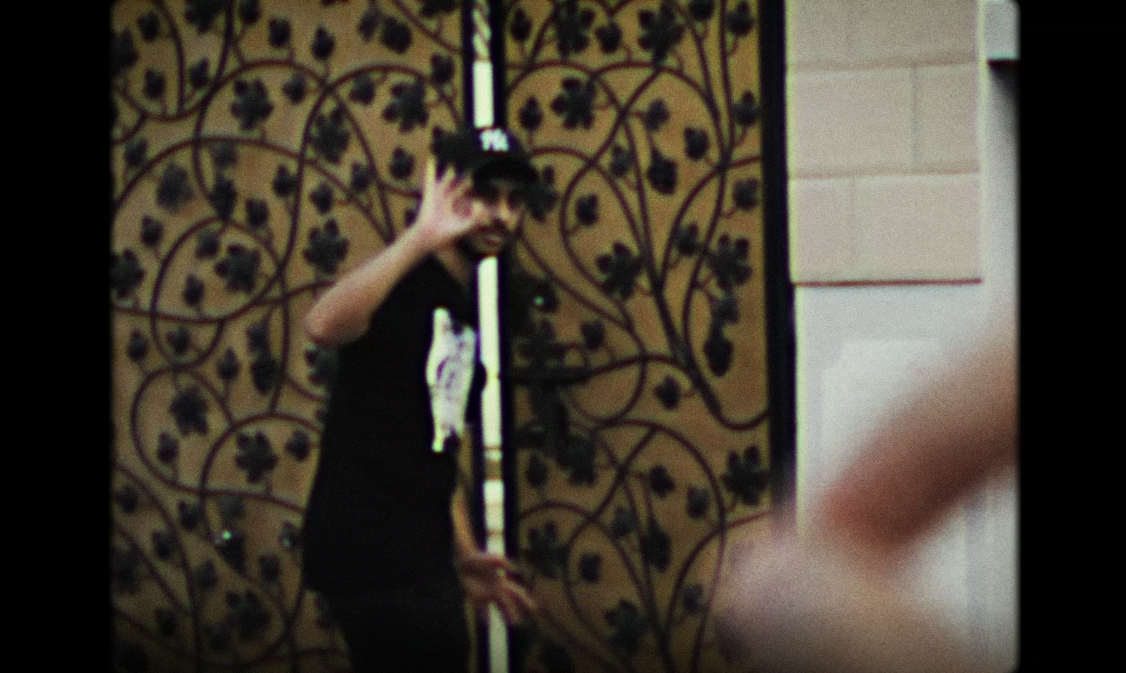
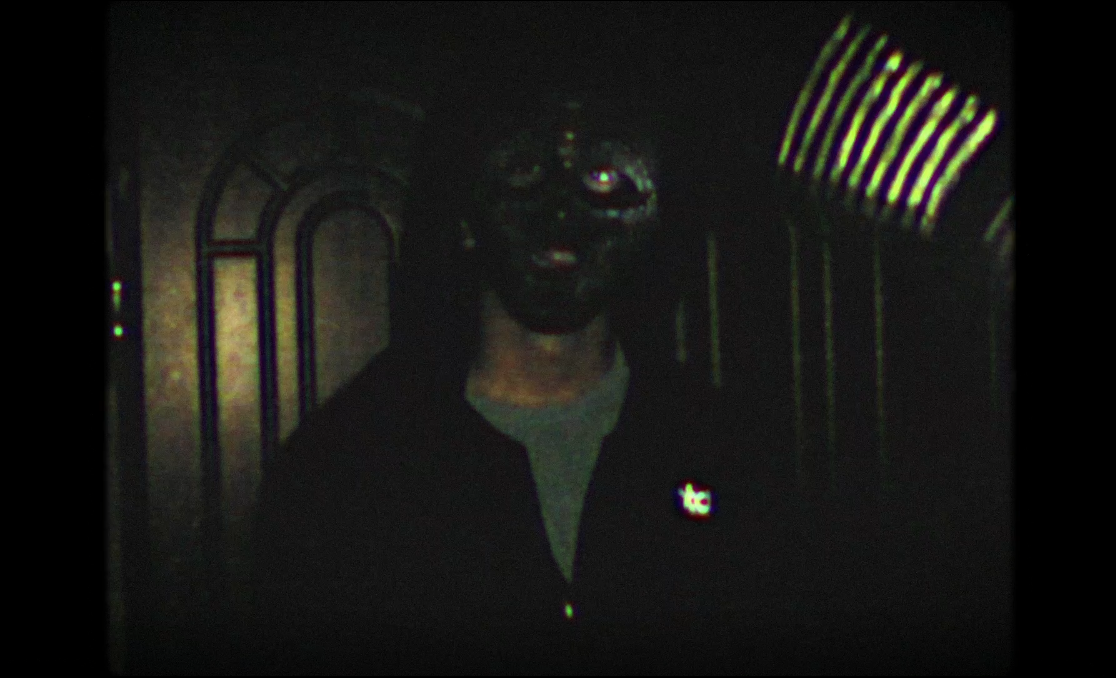
On the second day of shooting, we were finally able to fully shoot all the indoor scenes as we had previosuly planned it and dicussed it togather. Scenes filmed were the door getting kicked open by the antagonist, revealing a dead body in the dark with the help of a flashlight, shooting the killer, getting kicked/punched by him from a POV, and the final shot of the trailer. We also filmed some new additional outdoor scenes like another chase scene and walking throufh the gate of the house. |
One of the problems we had faced on the first day of shooting was that we had wasted some time on discussing what scenes would be included in the indoor scenes as I had not had a story boarded and had a proper plan for it. To make sure this didn't happen again the next time we filmed, I took some time to brain storm different ideas and discuss them with my crew a few days before re-filming so we could be fully ready.
Equipment

|

|

|

|
|
Samsung A13 (For Voice recording with built in App)
|
Canon DSLR Video Camera
|
Collar Mic
|
Iphone 11
|
One of the problems I had faced during filming was having the Camera battery to run out and having a long re-charge time. To counter this, we decided to film with Wajihs Iphone 11 since it is able to film in 4K giving us good quality similar to the Camera.
Editing

Firstly, I imported all of my clips into a sequence and did a rough cut of where each clip will be placed and shown to the audience. I also nested a few clips togather since to save some time on video editing.
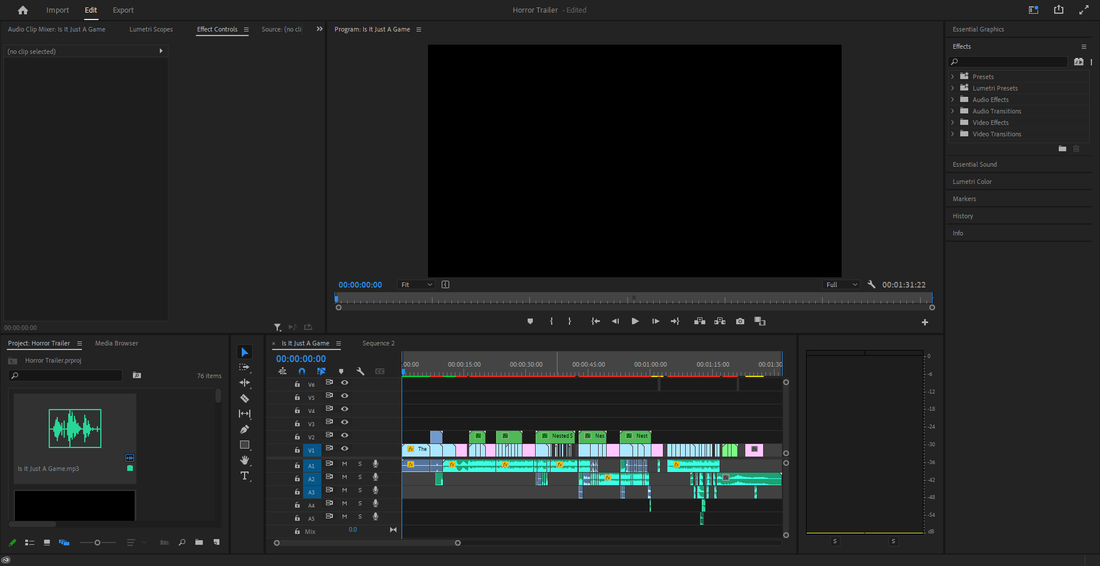
After having all of my clips sorted out, I downloaded all of the sound effects and soundtracks needed for my trailer. Once I imported them in as well, I did another rough cut of which part they will be playing in. I also had some pre recordings for dialouges in the trailer to make the voice sound clear with little background noise interrpution.

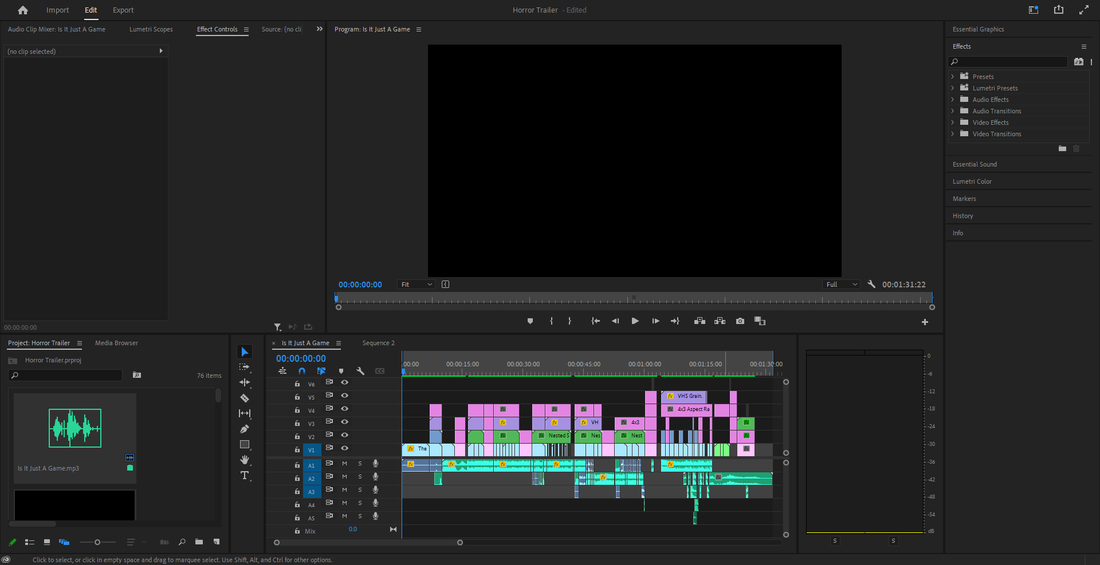
I then added a vintage effect along with a 3:4 ratio border and VHS grain effect to give it a little gritty look which makes it really feel like it is found footage.
After that I included to add some text cards in my trailer because they are very crucial to have since they convey information quickly in a trailer because they literally tell the audience something about the story. To make it look more professional, I added a little blur and fade effect whenever the text appeared or dissapeared. A slight glow effect, and also changed the font to a more pointier looking one to suit the theme of the film. I also added a slight distorted glitch effect in the text near the end of the trailer to make it more effective.
Colour Correction
Before
|
After
|
Finally, I did some small colour grading which was inspired by Zack Snyder style which makes most of his movies feel a bit darker. I applied this effect on to my own trailer to give it the same feeling.
Tutorials
|
|
|
|
|
|
|
|
There were some effects that I really wanted to include in my trailer to make it stand out but due to my limited knowledge of how to apply them on Premiere Pro. By looking up specificly what I wanted I clicked on different videos related to them and learned on how to apply the effects in my trailer. These videos mentioned above helped me learn techniques and expand my knowledge on Premiere Pro and how I could use it for my future assignments.
